I saw these cute hanging ghosts on pinterest and thought they would be a great addition to our Halloween decorations.
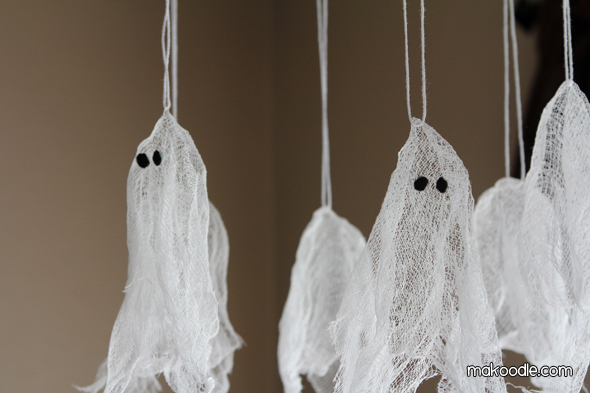
DIY Hanging Ghosts – Halloween Decor Tutorial
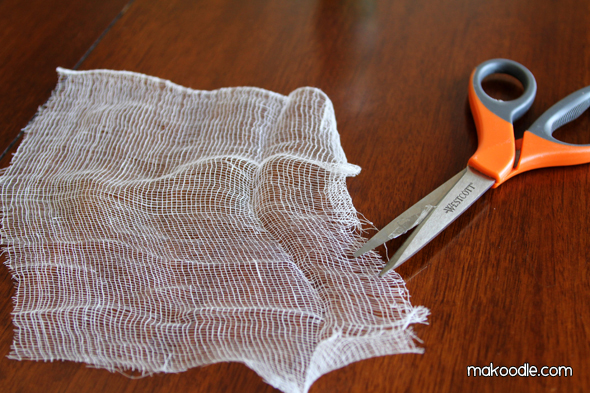
Cut cheese cloth approx 8″ x 8″. It doesn’t have to be perfect – rough edges help add character.
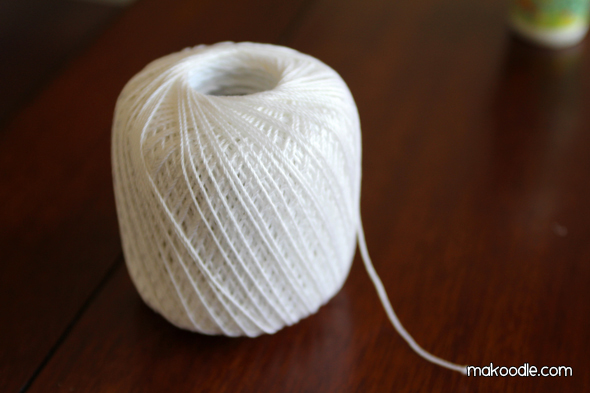
Use white string to hang the ghosts.

For some ghosts, I added the string before I formed the ghost shape. For others, I added the string after I formed the ghost shape. It worked about the same both ways.

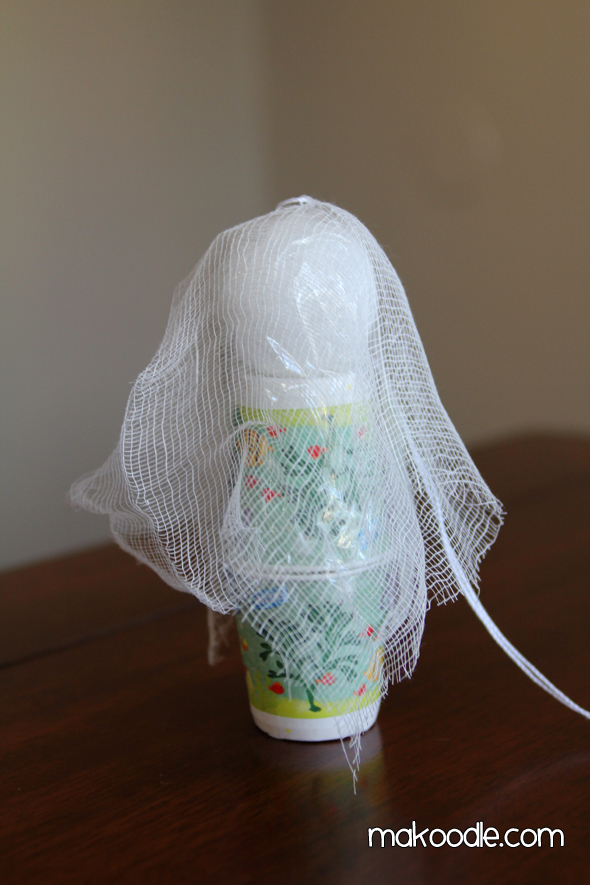
I created my ghost “shapers” out of small Dixie cups (the ones you use after you brush your teeth) and a small styrofoam ball. I put a small rock in the cup to act as a weight. I taped the cups together and taped the styrofoam ball to the top. I wrapped the outside of the ball in tape so it didn’t get stuck on the cheese cloth. I made 6 different ghost shapers so the cheese cloth could all dry at the same time, but you could just as easily make one ghost shaper and repeat the process for as many ghosts as you’d like.
Once your shapers are built, drape the cheese cloth centered on the shaper.
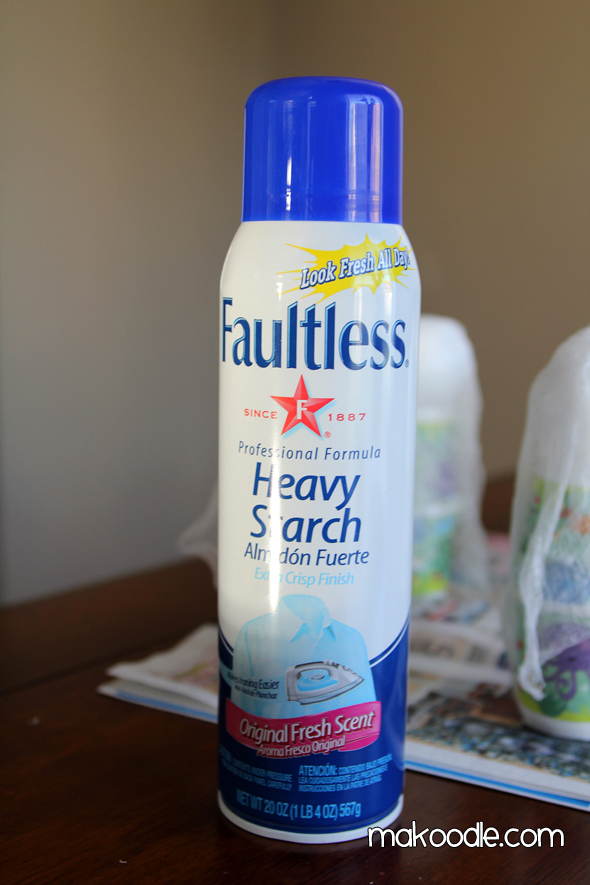
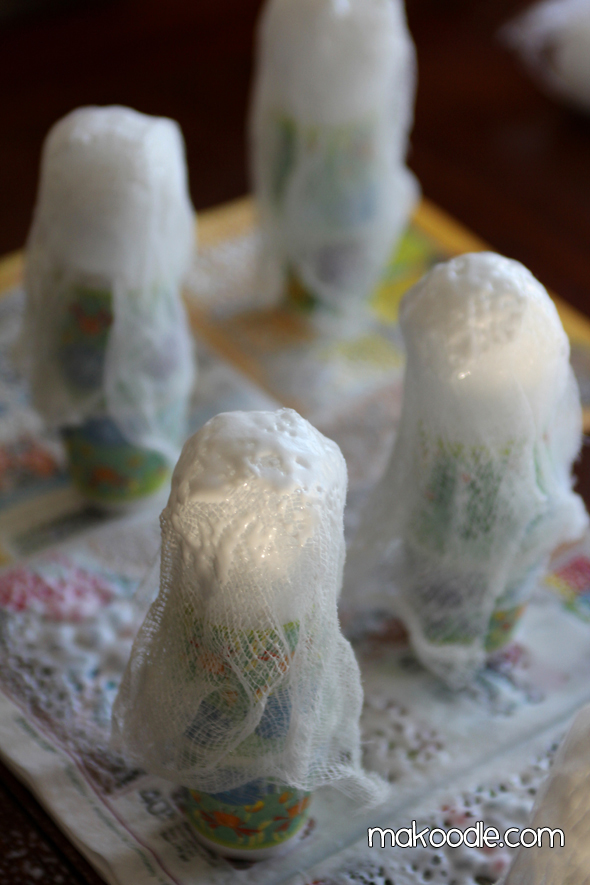
Use heavy starch and generously cover the cheese cloth draped over the ghost shapers.
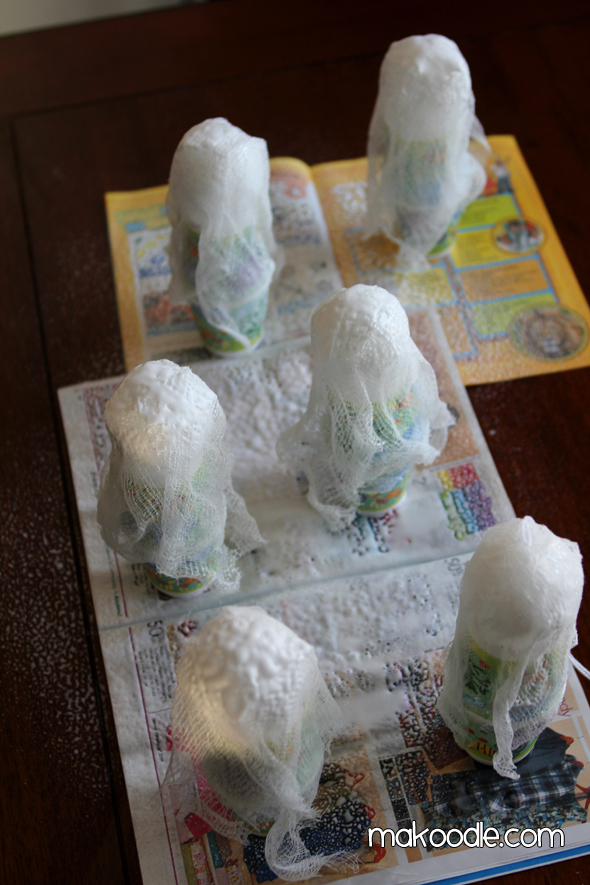
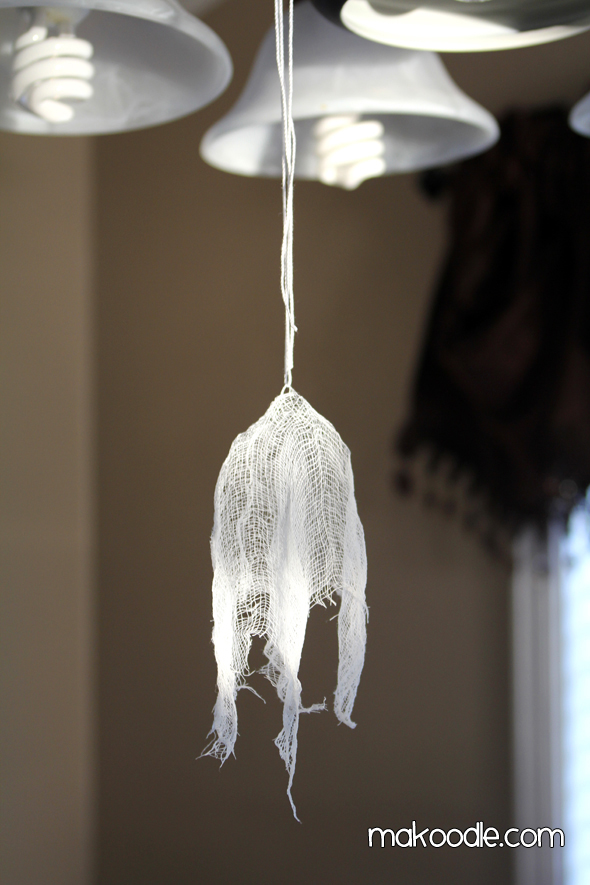
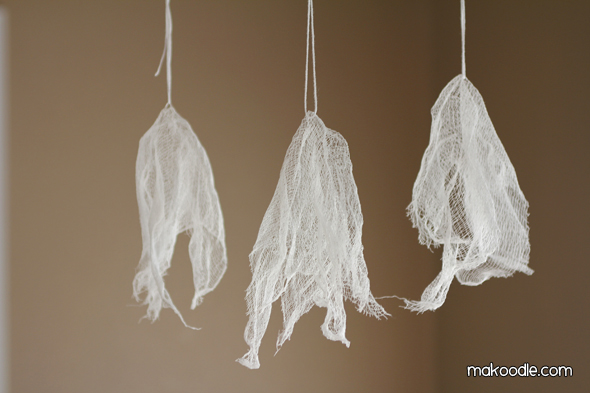
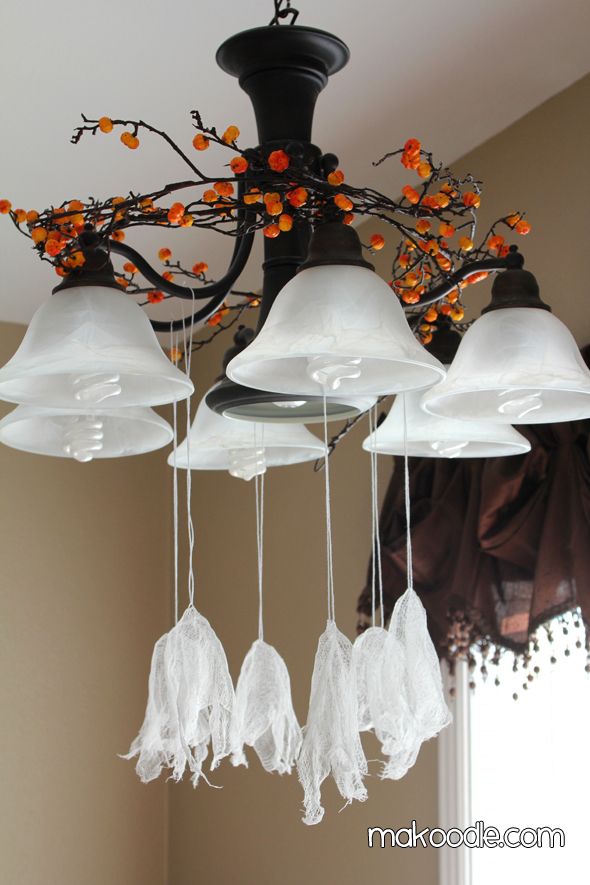
Allow cheese cloth to dry completely. Once dry, your ghosts are ready to hang. I tried two versions of the ghosts with and without the eyes. Here are my eyeless hanging ghosts:
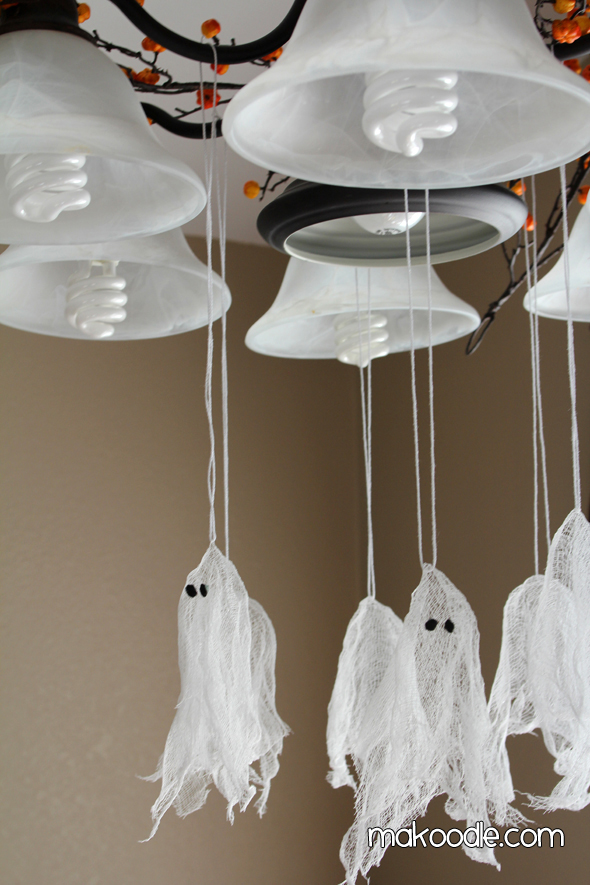
I ultimately decided my ghosts would look cute with eyes, so I cut out some small black eyes out of felt and attached the eyes using glue dots.
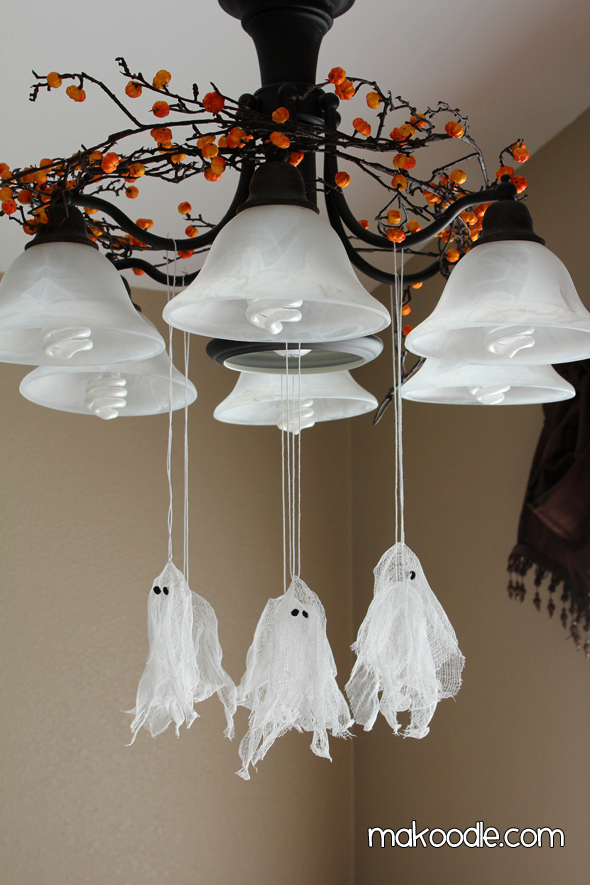
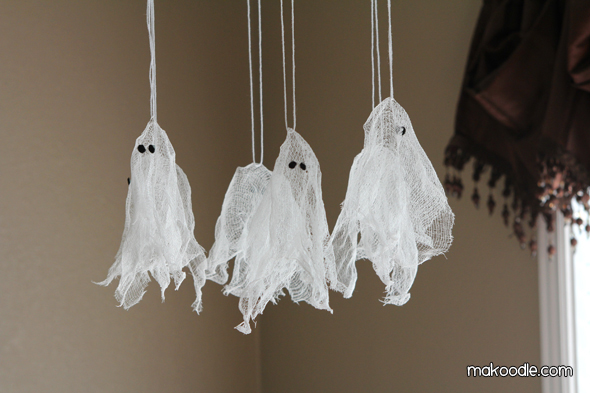
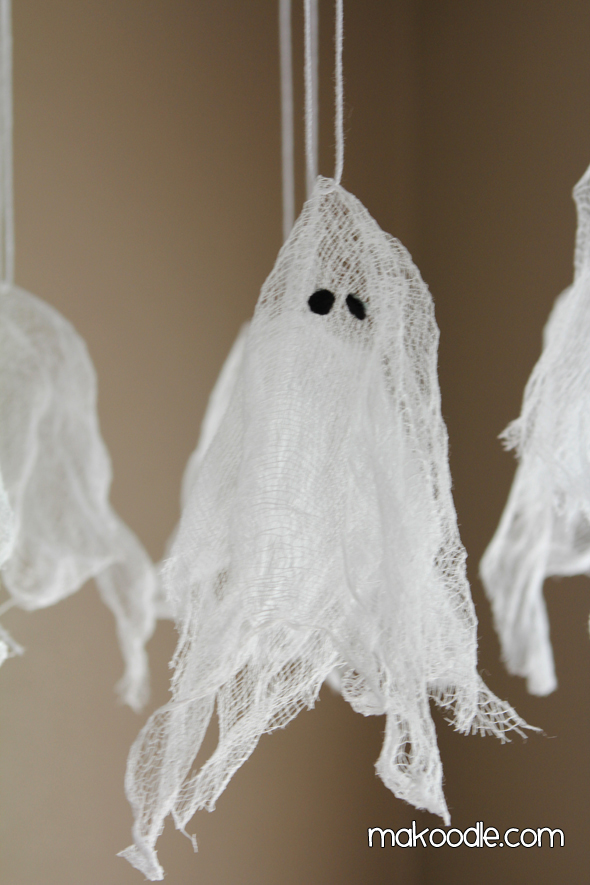
I like how my hanging ghosts turned out. They work perfectly hanging from my kitchen chandelier.



Leave a Reply