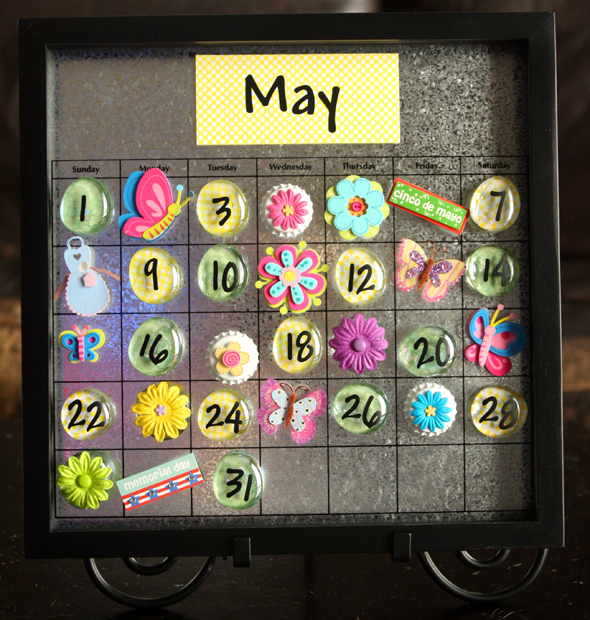
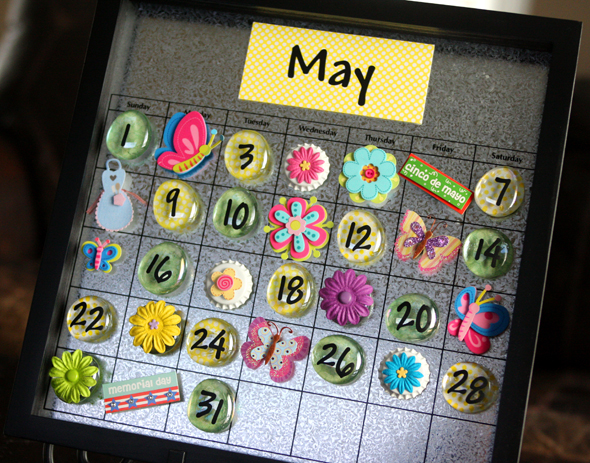
I saw this cute calendar on my friends desk and knew I had to make it. It is a great way to decorate for any season and create something custom that will match any decor, style, or preferences. My 6-year-old daughter and I sat down for a couple of hours on a Friday afternoon and put it together. I can’t wait to put together next months calendar. I’ve been going a little crazy at the craft stores looking for cute embellishments. I want to create some month letter magnets using sticker letters and glass rocks. Hopefully that will be an upcoming project.
How to Make a Magnetic Calendar
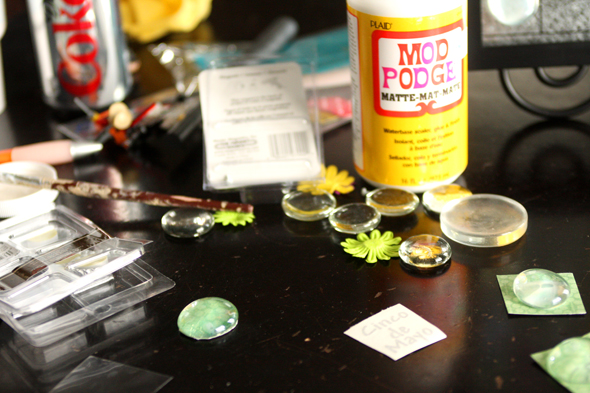
Supplies:
- 12×12 Shadowbox Scrapbook Frame
- 12×12 Metal Blank Calendar
- Favorite scrapbook paper
- Favorite embellishments & stickers
- Glass stones
- Magnets
- Mod Podge
- Glue Gun
- Vinyl month letters and numbers
- Frame stand
Step One – Determine Calendar Theme & Colors
Determine your overall theme. Pick your colors and matching embellishments that will go with the season. For my May calendar, I decided to use yellow and pastel green. For embellishments I used flowers, butterflies and holiday inspired embellishments such as an apron for Mother’s Day. Determine how many squares will have an embellishment and how many squares will have a numbered date. On my calendar I had half of the days with embellishments and half with a numbered date.
Step Two – Create Glass Stone Date Magnets
Cut your favorite scrapbook paper into small squares that are slightly larger than your glass stones. Mod Podge the scrapbook paper to the back of the glass stones that will include a date. Once the Mod Podge has dried, cut the excess scrapbook paper from the edges of the glass stones. Use hot glue to add the magnets.
Step Three – Create Embellishment Magnets
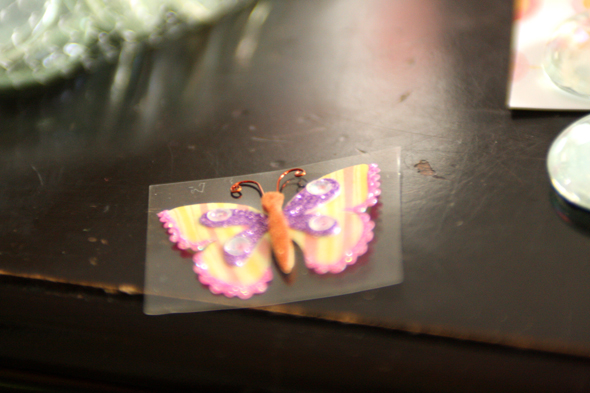
Add magnets to your embellishments. If you are using 3D stickers, you can usually just stick the magnet directly to the sticky part of the sticker. Some embellishments will require assembly. For example, I used some gerber daisy flowers that I assembled using a brad and gluing them to a glass stone for some added dimension.
Step Four – Layout and Organize Glass Numbers and Stickers
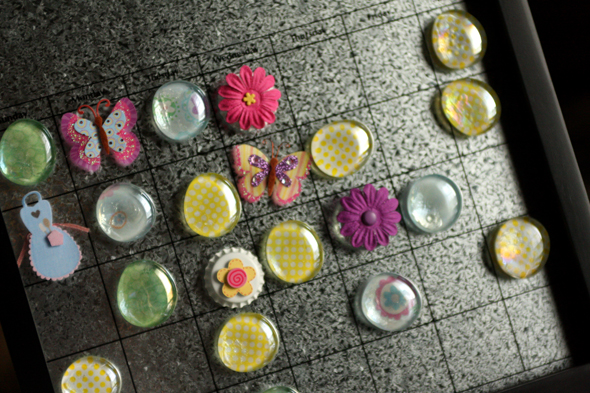
Determine where to place your glass numbers and embellishments before placing the vinyl numbers on the glass stones.
Step Five – Add Vinyl and Display
After you have the magnets laid out, add your vinyl numbers to your glass rocks. Create the month title using a piece of scrapbook paper and vinyl letters. That’s it! Display it using a frame stand or mounted on a wall.
Send me links to your calendars!
Linking to:







Where do you find the magnetic blank calendar?? I LOVE the look of this one and can’t find them anywhere!
I found it at a local craft store. I did a quick google search and found the calendar here: .