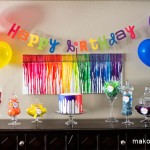
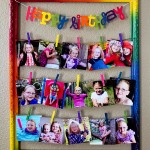
I have been a little slow putting together pictures from my daughter’s art birthday party. There are a lot of pictures to go through and I have a hard time narrowing them down. I’ve also been extra tired and a little burnt out from the parties, so I’ve been taking a little break. My friend asked me about pictures from the birthday parties and I figured I better get on it!
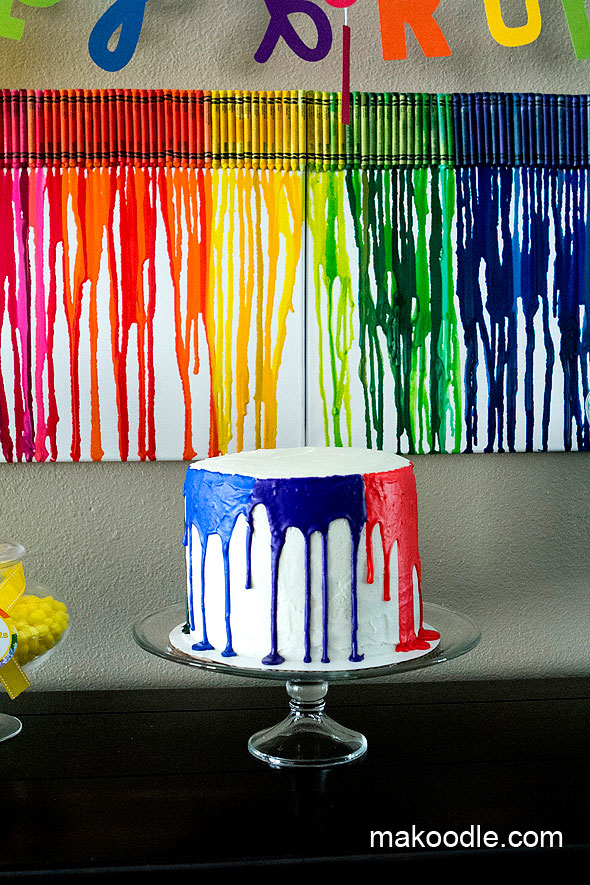
We had two art themed birthday parties for my daughter – one for family and one for her friends. There was no question I would be making a rainbow cake for the parties, but I wasn’t quite sure how I wanted to decorate the outside of the cake.
I ended up making two similar, yet different cakes. You’ll have to let me know which style you liked better.
White Velvet Cake Recipe
This is a wonderful semi-homemade cake recipe that was delicious! It is my new go-to white cake recipe.
Recipe via Meaningful Mama (make sure to check out her amazing rainbow cake!)
- 1 box white cake mix
- 1 cup sugar
- 1 cup flour
- 1/8 tsp salt
- 1 1/3 cups water
- 3 eggs
- 1 cup sour cream
- 1 tsp vanilla
First mix the water, eggs, sour cream, and vanilla together. Next add the cake mix, sugar, flour, and salt. Bake as directed by instructions on the box.
This makes about 7 1/2 cups batter to fill two full 8″ rounds. For the rainbow cake, I doubled the recipe and divided it into 6 equal parts so I had 6 different colored layers.
Rainbow Cake Tutorial
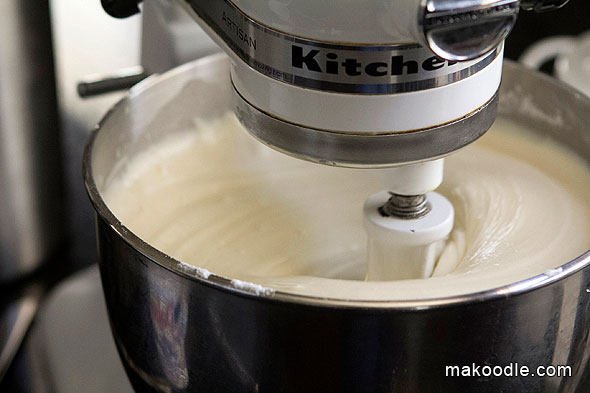
Make your favorite white cake recipe. You can use a cake mix or your favorite from scratch recipe. Make sure to double the recipe so you have enough batter for 6 layers.
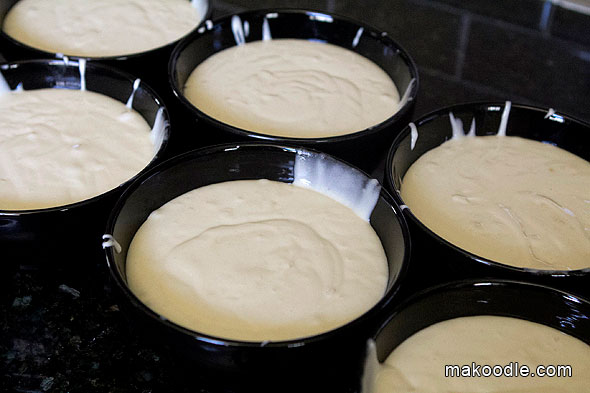
Divide the batter into 6 bowls. For the recipe I used, I had a little more than 2 cups of batter per bowl.
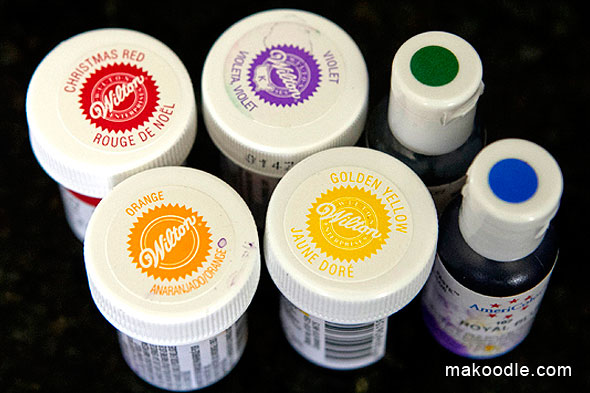
Use gel food coloring to color the batter and get the most vibrant colors.

Add food coloring to each bowl and mix well.
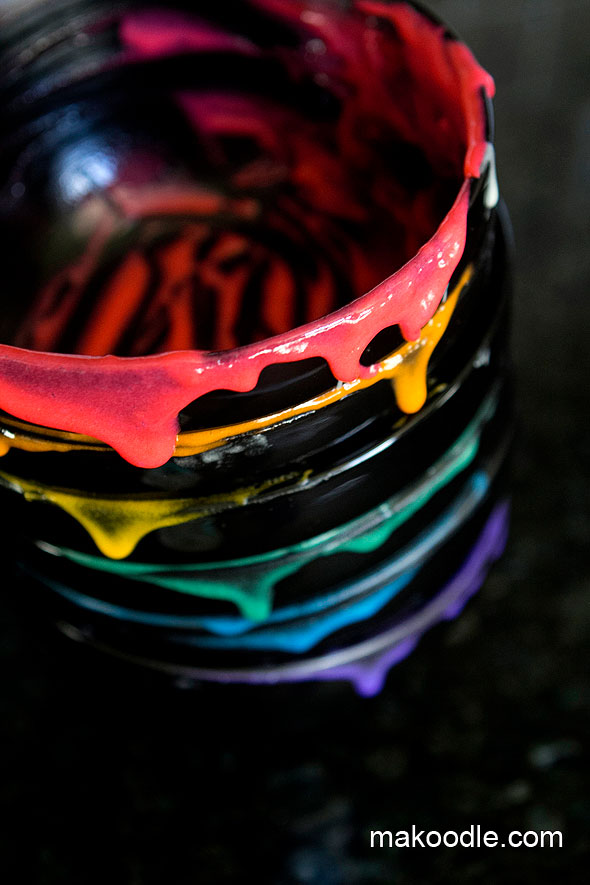
Cook each color in a round cake pan.
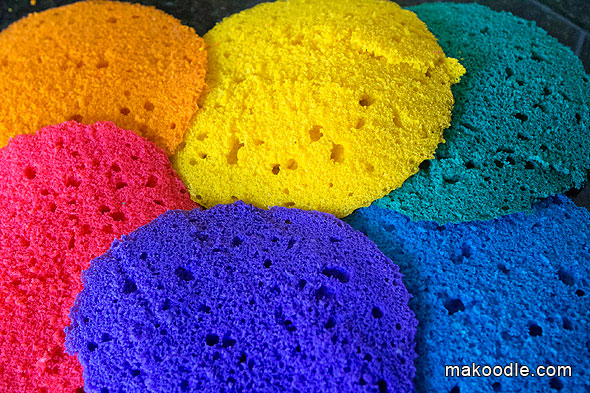
Allow the cakes to cool completely. Once they are cool, level off each cake by cutting off the top part of the cake.
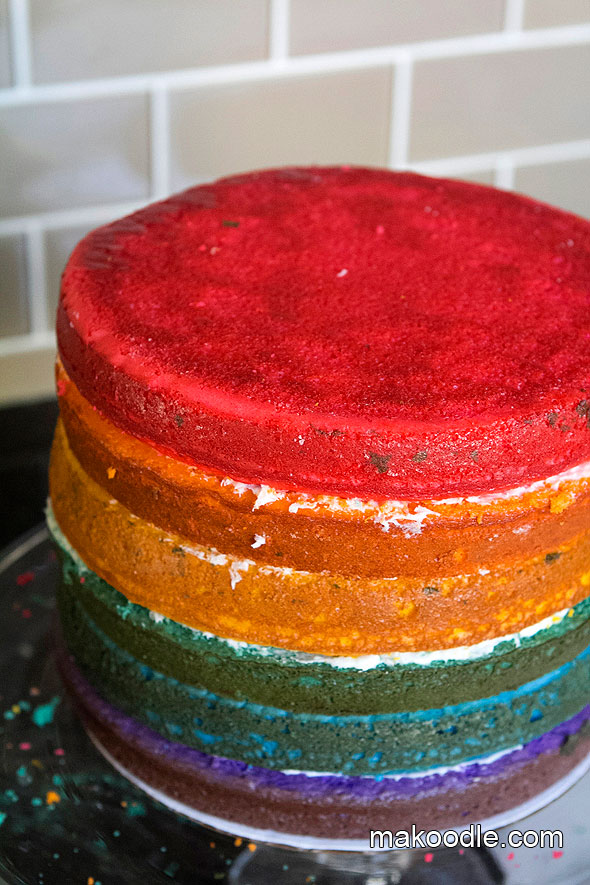
Stack the cakes together using butter cream frosting between each layer. The frosting acts as a glue to keep the cake together and stable.
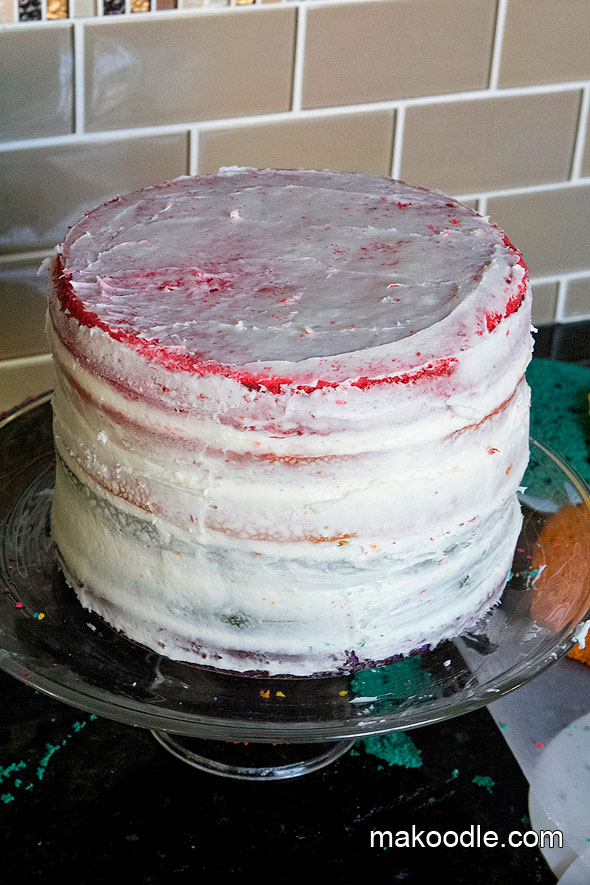
Add a crumb coat of frosting to seal in the crumbs. I put the cake in the freezer for an hour so the cake crumbs were locked in the crumb layer before adding the final coat of frosting.
Cake Decorating Fail
I wasn’t quite sure how I wanted to decorate the outside of the cake, so I thought to myself, “You can’t go wrong with sprinkles, right?” One of my favorite rainbow cake ideas had big sprinkles, so I thought I had a simple and cute idea. It definitely didn’t turn out how I wanted.
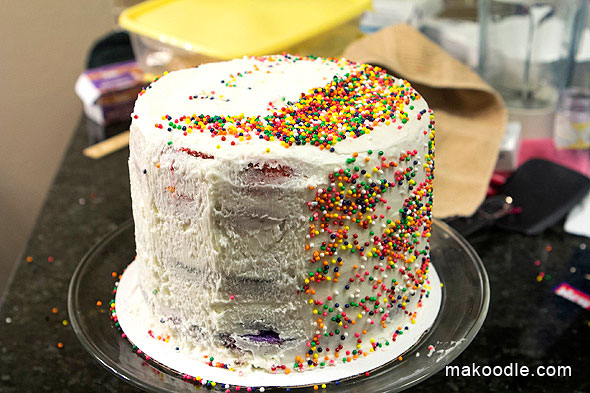
I asked my husband to tell me what he thought of the sprinkles and he kindly told me it wasn’t his favorite. He had a great, great idea and I knew I had to start over.
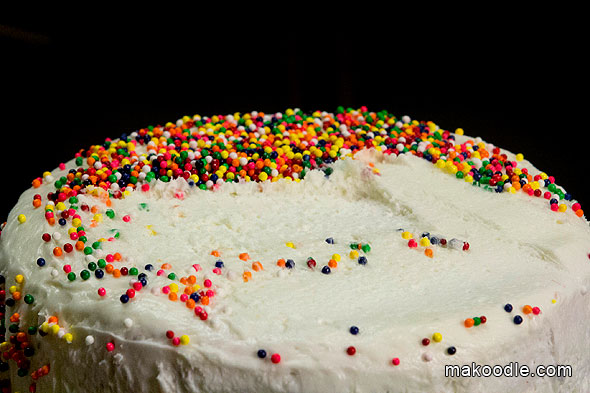
I was doing the decorating at night and wasn’t really thinking to take pictures. Halfway through the frosting removal, I remembered to take some pictures and thought it would be fun to share what it looked like with the big sprinkles…
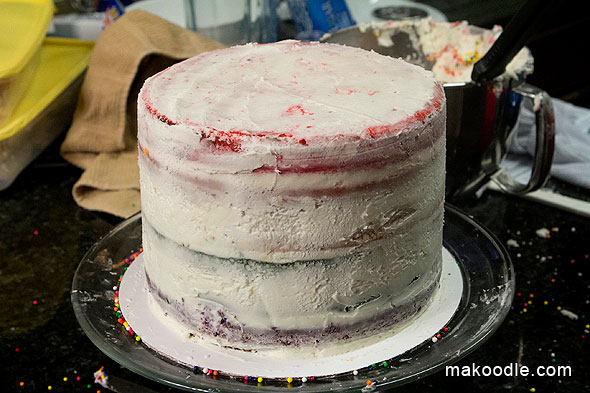
I had a big mess on my hands, but at least I was able to start over.
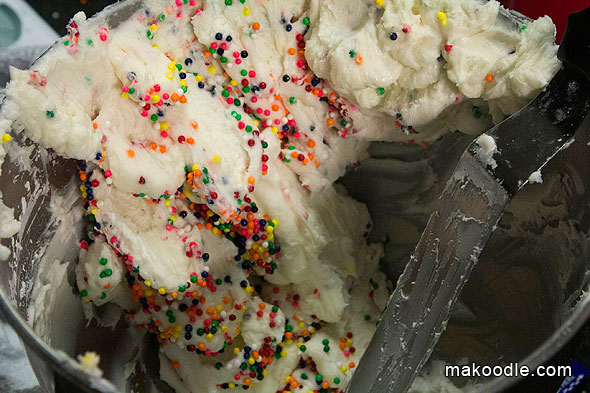
Too bad all that yummy frosting had to go to waste!
Art Birthday Cake Tutorial
Again, I have to credit my husband with this clever idea.
After we decided that sprinkles were not the way to go, he said “Why don’t you drip frosting around the edges and make it look like your melted crayon canvases?” Lightbulb!
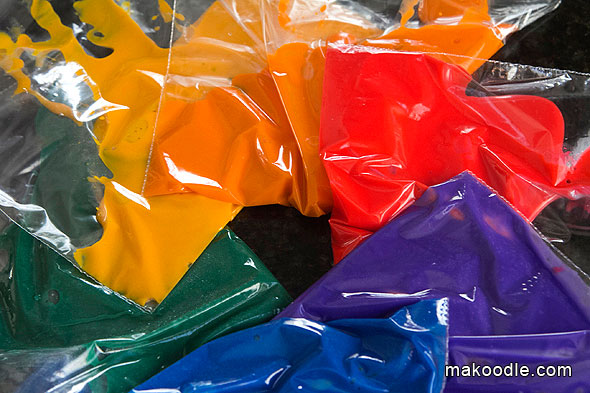
To make the glaze, I used a combination of powdered sugar, milk, vanilla, and gel food coloring. I added each color to a zip lock bag.
Powdered Sugar Glaze Recipe
- 2 c. powdered sugar
- 3 tbsp. milk
- 1/2 tsp. vanilla, optional
Combine ingredients until smooth. If you want a thicker glaze, add more powdered sugar. The first cake I made had a thinner glaze and the second cake had a thicker glaze. I liked how the thicker glaze looked.
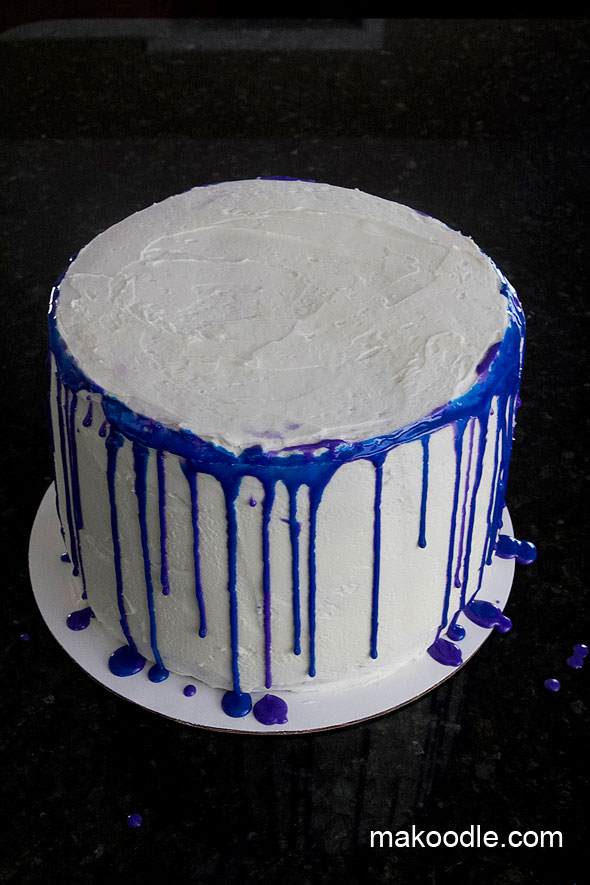
Cut a small piece out of the corner of the zip lock bag and carefully drizzle the glaze around the perimeter of the cake.
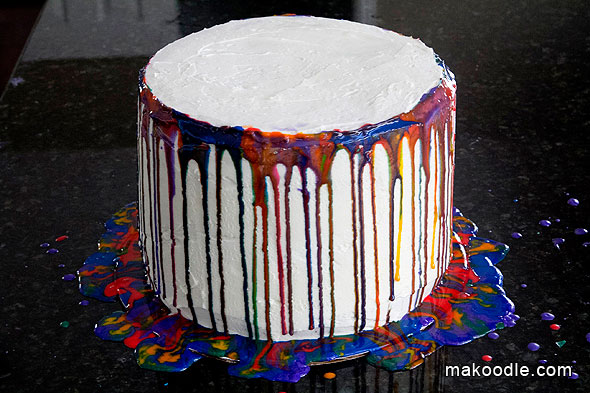
This was the first cake I made. With this cake, I overlapped the colors on top of each color. I think the effect on this cake looks like watercolors dripping down a canvas. The colors combined to create new colors. If I did this technique again, I would probably make sure the glaze was “dry” before drizzling the next color.

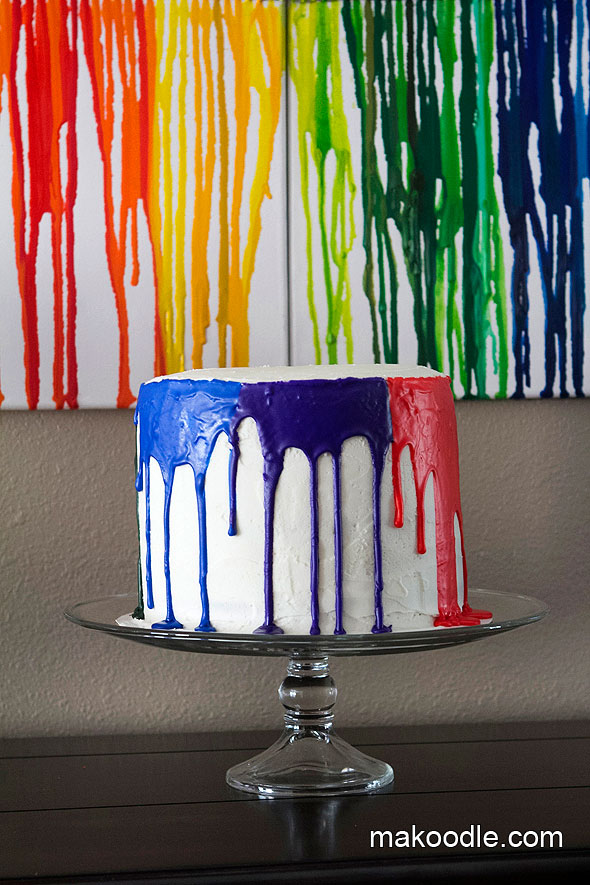
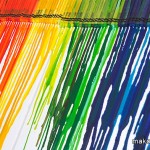
For the second cake, I made the glaze a bit thicker and drizzled the glaze in sections. This made the cake look like the melted crayon canvases.
Rainbow Name Cake Banner
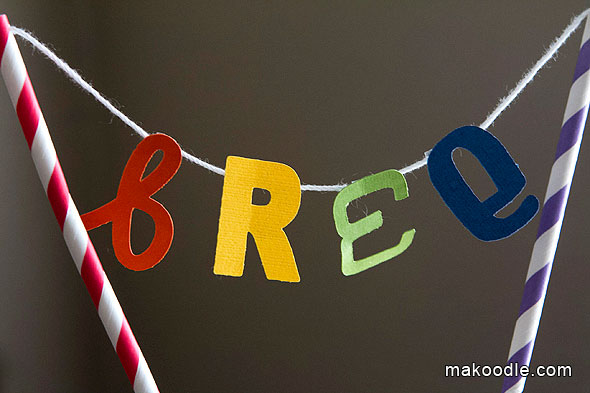
My daughter made a request that we decorate the top of the cake, so I quickly put together a cake banner with her name.
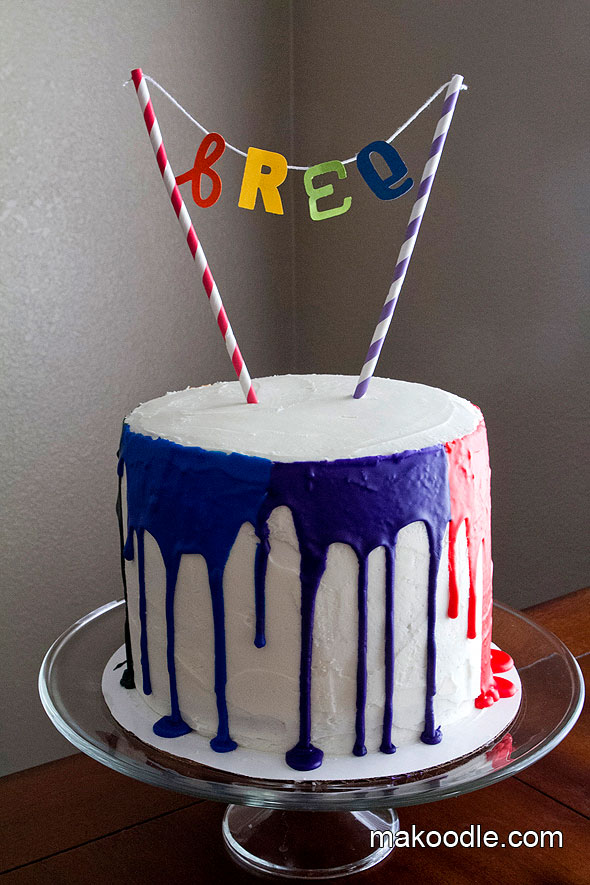
I used my Silhouette to cut out the letters and some cute paper straws to hold the banner up.
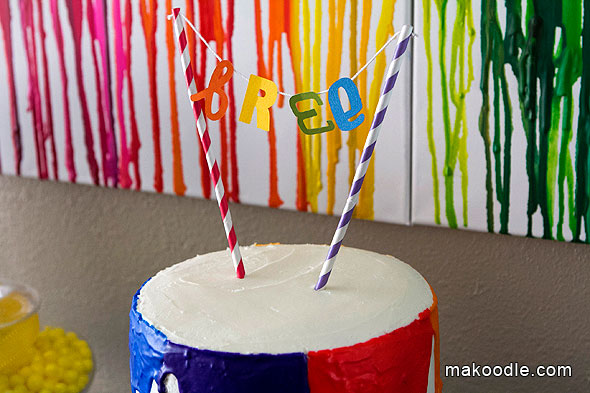
There you have it!
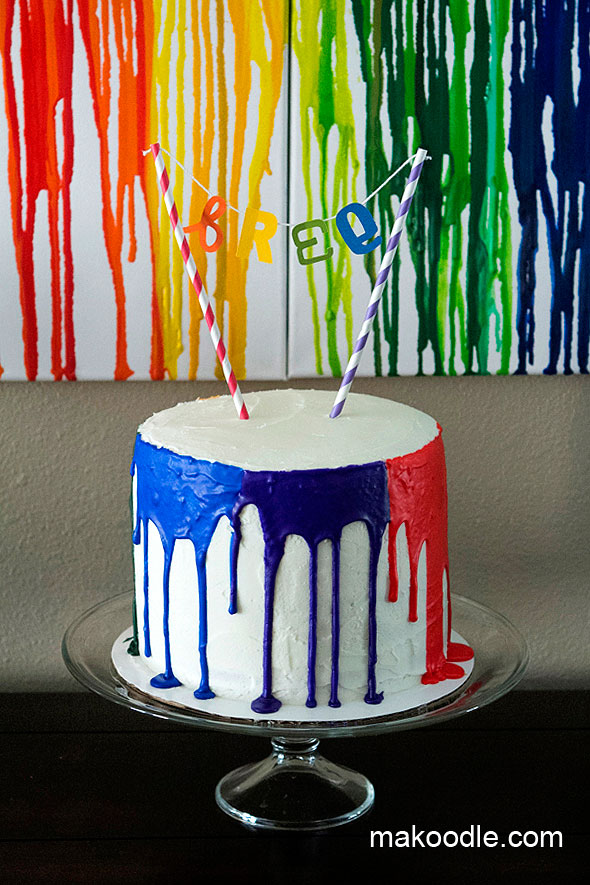
I have to say, I really like how this cake turned out! I’m impressed with my husband for having such a creative idea.
Which style is your favorite?
Want more?
If you like this idea, be sure to become a fan of Makoodle on Facebook or subscribe to our feed to stay up-to-date with Makoodle’s latest recipes and projects.
Thanks for stopping by!


Love this! We just put up our Kitchen Fun & Craft Friday link party and would love for you to share this! http://kitchenfunwithmy3sons.blogspot.com/2012/08/kitchen-fun-and-crafty-friday-link_30.html
This is truly spectacular!! I love all the different colored cake layers! I’m not confident that I could pull this off, but gosh this is a wonderful idea!
I love how the finished one turned out. I’ve made rainbow cake as well and it’s always fun to see the reactions when you slice into it.
Slicing into the cake is the best part! The kids went wild.
I am loving BOTH of these cakes! Very clever and loving the “crayon art” look! Why didn’t I think of that!
Melissa- a new fan!
Stop by and visit me sometime at http://www.mywatermelonmoon.com
My newly made over blog loves visitors!
Very clever idea! Fun for a rainbow party too!
Wow! Very pretty. I love the way the cake and the frosting are colorful. The melted crayon canvas in the background just pulls it all together.
Love your blog.
Melissa
Fabulous cake! Thanks for sharing!
I love love love how you did the drizzle glaze. It looks awesome. I’m sure it was a hit.
Rhiannon at Being Mom{me}
Can I just say: WOW!!!! That cake is dynamite! Clever, creative, and fun.
<3 Christina at I Gotta Create!
Wildly Original linky party is open.
I made a rainbow cake a few years ago and it was a hit. Mine did not look so fabulous like yours though. I love them both but I think the second one is my favorite. I have some birthdays coming up and I might take your (husbands) idea:)
This is so pretty! I like to play around with cake decorating, but I’m not very good. I have the feeling that this is exactly what I should do with my next cake! Love it & love the fact that it requires no pastry tips. Will be tweeting it soon.
LOVE this fabulous idea! The section dripped one if my fave. Thanks for sharing!
Fantastic! It makes me want to eat cake and repaint my living room! : )
Enjoyed the extra pics of your not-so-pretty ones. I think I’m doing this for my niece’s birthday this week!
I love this idea!! What a beautiful, creative cake. I’m copying you for my baby boy’s birthday. Thank you for the idea!