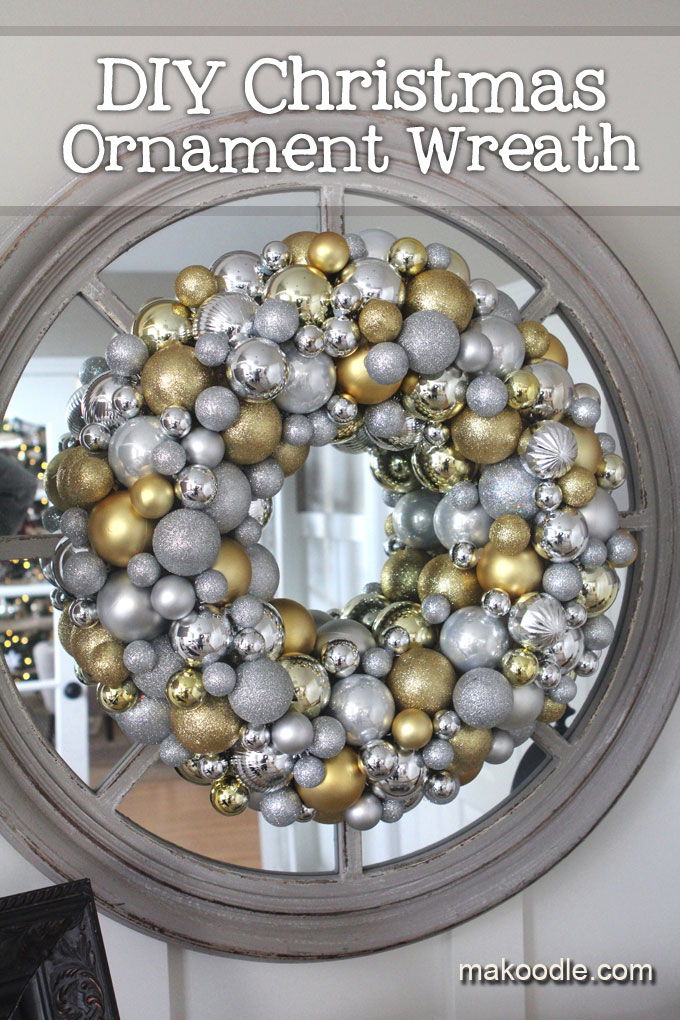

I wasn’t planning on blogging about this project because – let’s be honest – when was the last time I blogged! I have been getting into the Christmas mood and have most of the Christmas decor out.
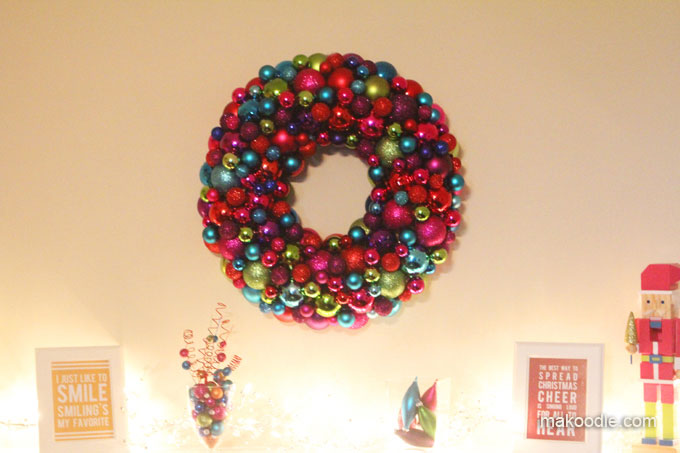
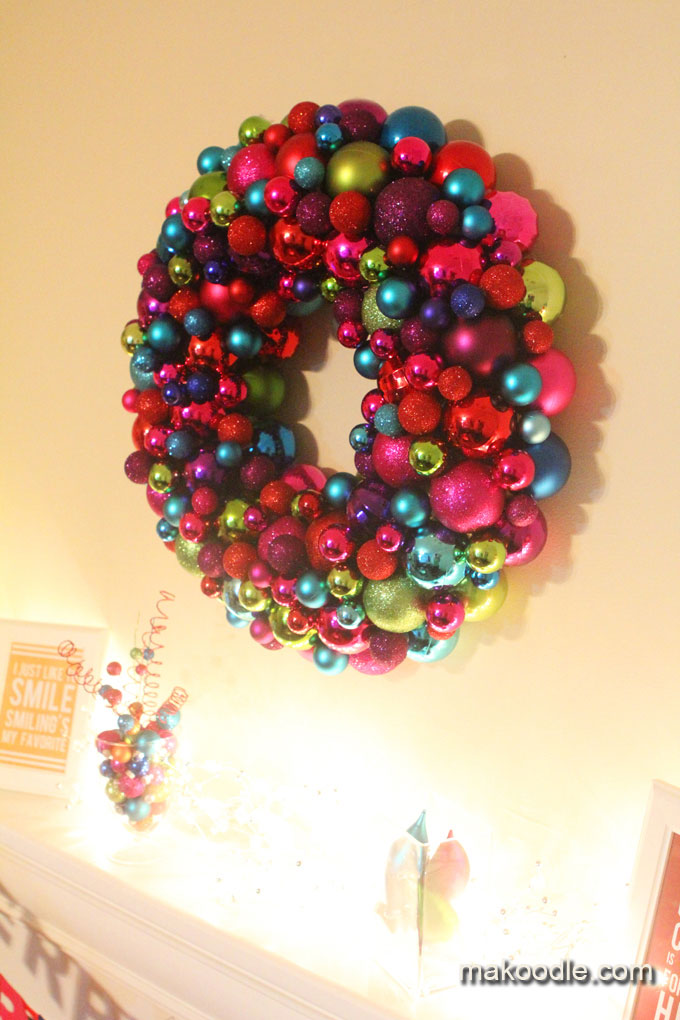
I have an area downstairs that is where i put all my colorful, whimsical Christmas decor. I am still working on the whole setup, but I knew a colorful ornament wreath was a must.
I’ve seen these wreaths quite a fews and there are probably a bunch of tutorials, but here is how I made it. When I made my first, colorful ornament wreath, I didn’t take pictures while I was making it because I didn’t plan on blogging about it. I posted a picture of the colorful ornament wreath I made on Instagram and I had a few friends ask me for instructions. Since I didn’t take pictures on the colorful wreath, I had a good excuse to make a second wreath. Not to mention the boxes of ornaments I picked up at an after Christmas sale that were sitting in my storage.
How to Make a Christmas Ornament Wreath
Supplies
- Different sizes of shatterproof ornaments
- Wreath form
- Hot glue gun and glue
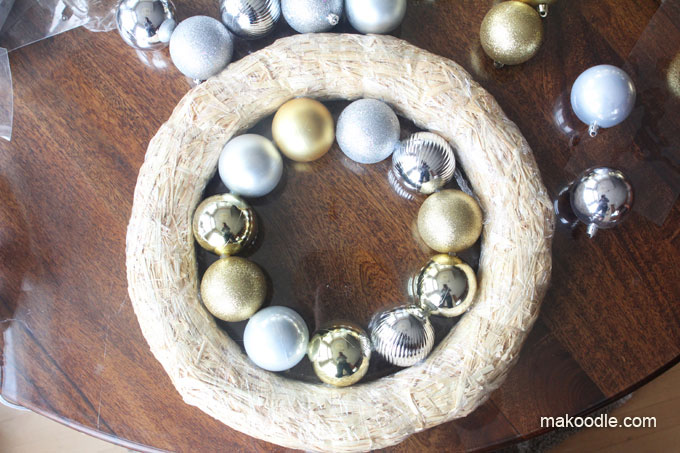
I started with an 18″ straw wreath, but you can use whatever size of wreath you’d like. I left the clear wap on my wreath base because I didn’t want the straw to get everywhere.
I started by putting ornaments around the inside of the wreath. I glued them so the top of the ornament faced down/inwards so you wouldn’t see if when looking at it. I focused on glueing the ornament to the wreath form, but I would also put a small amount of glue in between many of the ornaments to make it hold together stronger.

After I had glued the ornaments to the inside, I glued them to the outside of the wreath. I used the same method of gluing the top of the ornament down so you couldn’t see it. As you start to get to the last 5-8 ornaments, check to see if the ornaments will be a perfect fit. If not (it wasn’t for me), space the ornaments so you have a bit of space in between them, but so that it isn’t too noticeable.
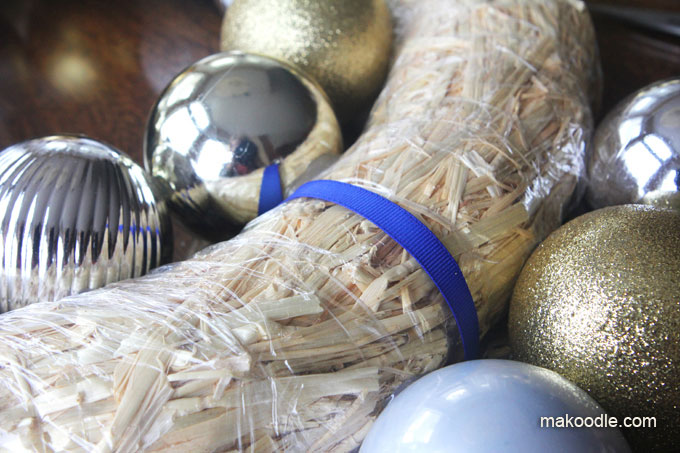
Once you have the inside and outside ornaments attached to the wreath, tie a ribbon around the wreath, in between the ornaments, so you have something to hang the wreath when you are done.

Next, continue adding a second row of ornaments around the wreath form. Stagger the ornaments so they fill in the gaps from the first layer.

After you have your two rows, it will looks similar to the picture above. Notice the bare space in between the second layer ornaments. It will depend on what size of ornaments you use and the size of your wreath, but the bare space will by filled in with smaller ornaments.

After I had my large ornaments placed, I used different sizes of smaller ornaments to fill in the gaps.

Make sure you continue to glue the ornaments with the tops down so they don’t show when you’re looking at it.

Make sure to use shatterproof ornaments. It will make your wreath more resilient and lighter when you hang it. Final tip – make sure you make this on a surface that you’re ok with hot glue dripping down. I made ours on our kitchen table that has a layer of glass. I quite a few spots where glue oozed down to the table. I guess the alternative is to be careful about how much glue you use!
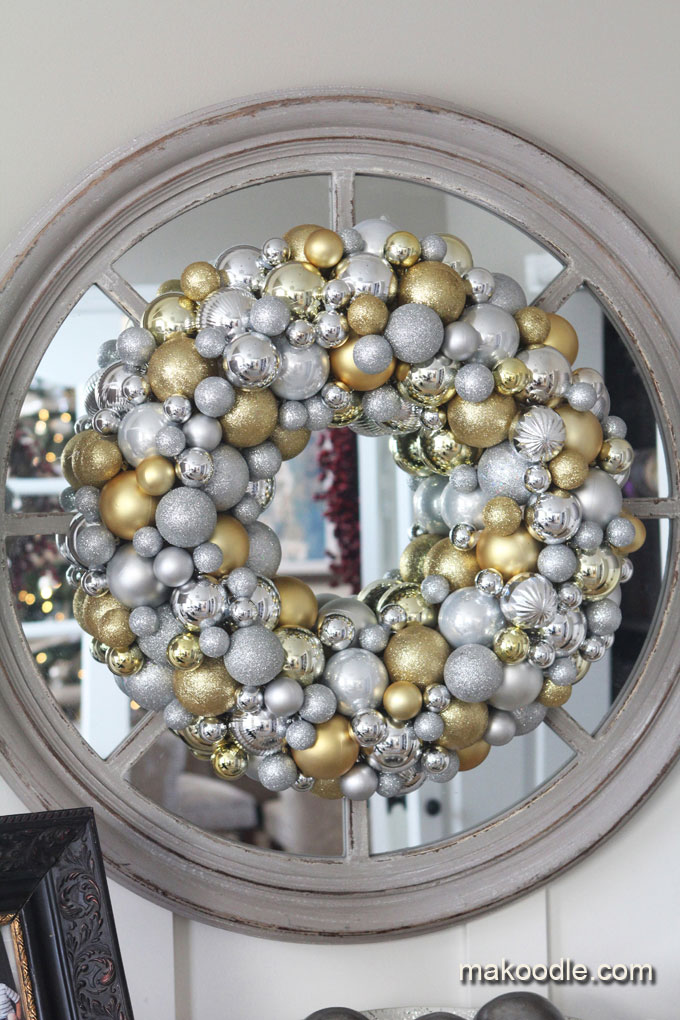
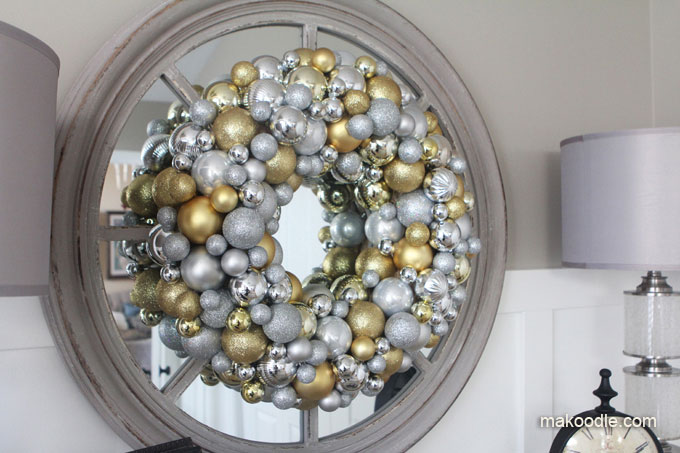
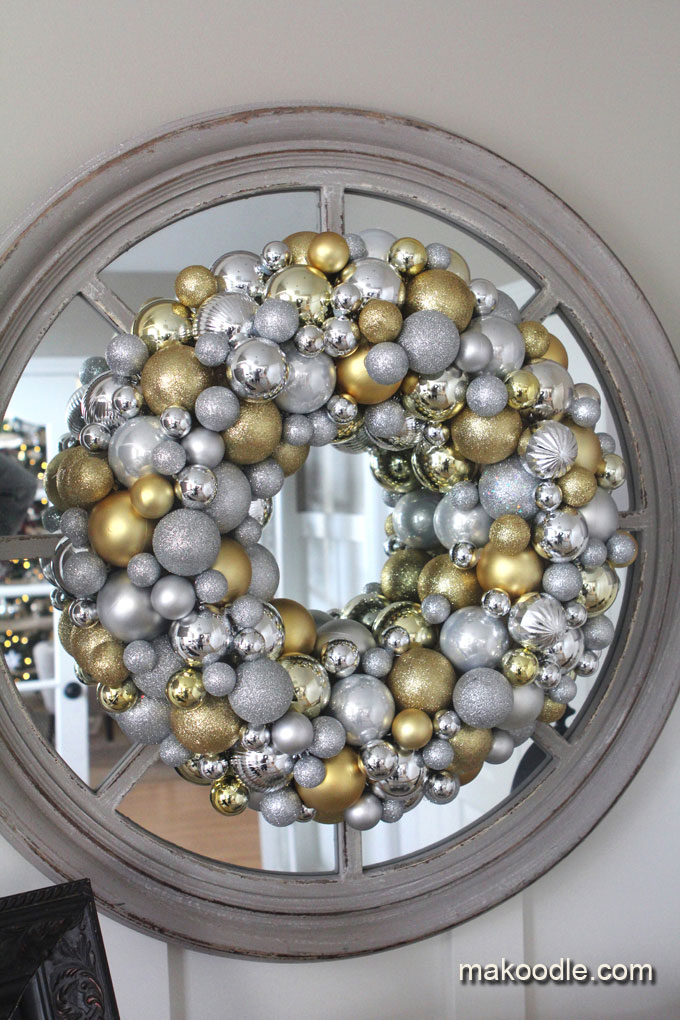
I put this wreath in my office. It looked perfect placed over my round mirror.
I love Christmas and decorating the house for Christmas. I wish the Christmas season would last longer, but would probably get sick of it if it did.
WANT MORE?
If you like this idea, be sure to become a fan of Makoodle on Facebook or subscribe to our feed to stay up-to-date with Makoodle’s latest recipes and projects.
Thanks for stopping by!



Leave a Reply