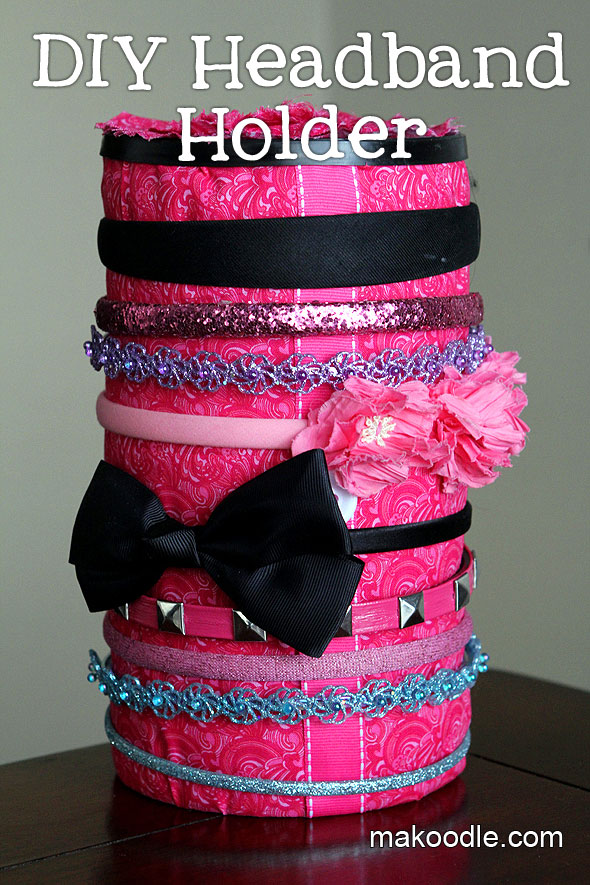
A few months ago I got fed up with the piles of headbands that were cluttering up my daughter’s dresser. Headbands don’t naturally store very well and they create quite a mess if they aren’t organized.
I knew I couldn’t be the only person that had experienced this dilemma so I did some researching on Google and found several ideas. My favorite idea and the one that seemed the easiest was to decorate a can of oatmeal. I saw this idea several places such as the Ribbon Retreat and Reenie Jae Creations. It turns out that an oatmeal can is the perfect size for holding headbands.
I’m not sure who initially created the idea, but whoever did is a headband organization genius.
Headband Organization Tutorial
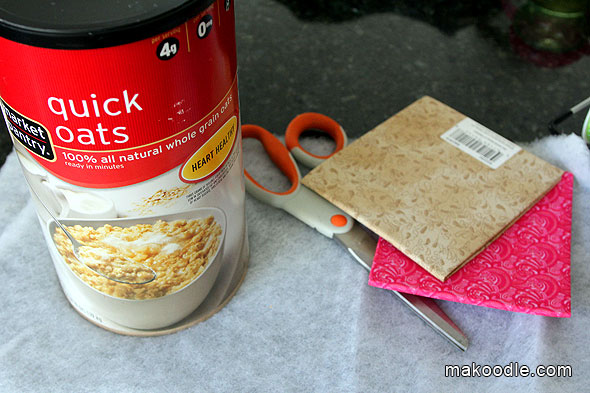
Craft Supplies
- Oatmeal Can
- Fabric
- Batting
- Glue Gun
- Glue Sticks
- Embellishments (ribbon, buttons, etc.)
- Scissors
DIY Headband Holder Instructions
You can make your headband holder with or without the oatmeal inside. If you make the headband holder with it, it will have more weight which will make it more sturdy. If you make the headband holder without the oatmeal in the can, you can make it mufti-functional and take the lid off and use the inside to store elastic headbands or bows.
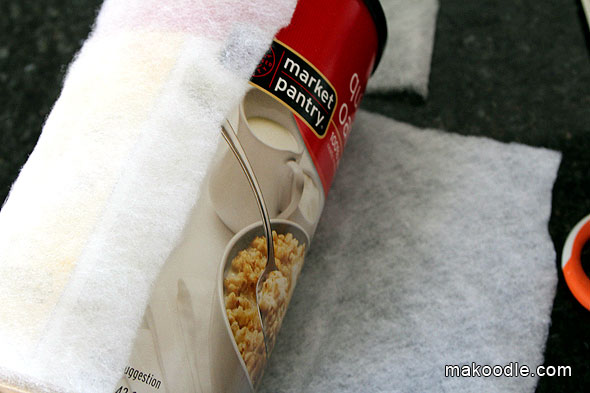
Cut the batting to the appropriate height and width so that it will wrap around the perimeter of the oatmeal can.
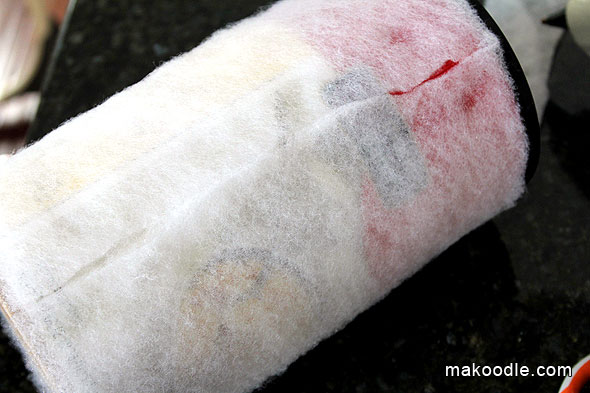
Glue the batting ends to the oatmeal can.
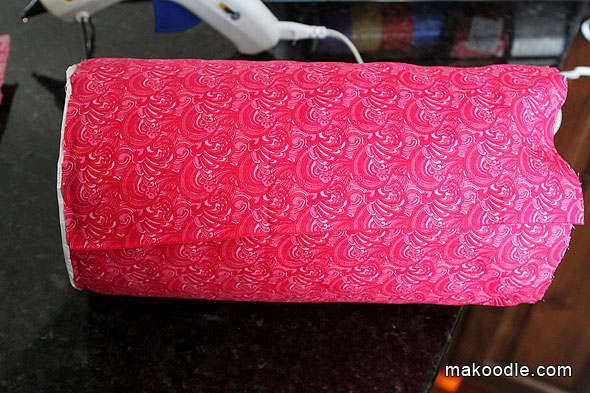
Cut the fabric to the appropriate size and width to wrap around the oatmeal can.
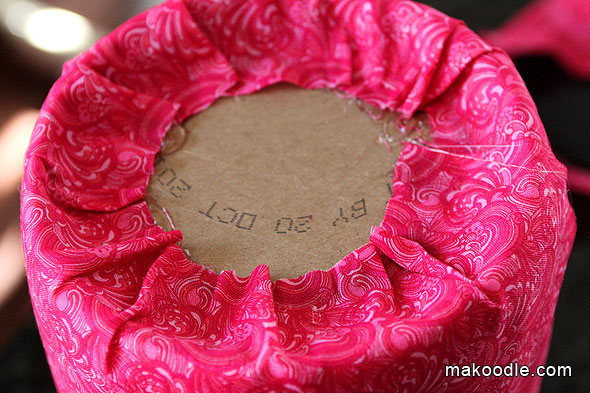
Fold the fabric over the edges and glue the fabric down.
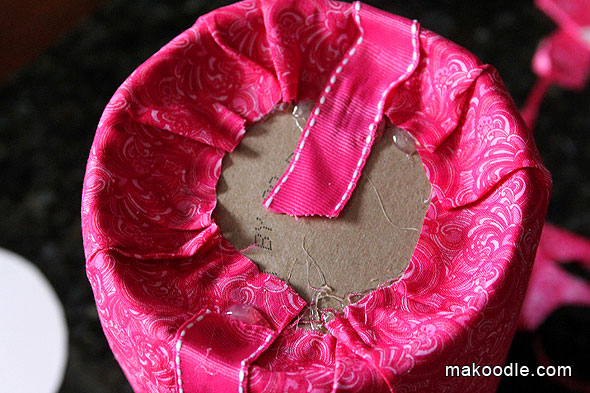
Add a ribbon to cover the fabric seems. You can make this ribbon functional by clipping bows to it.
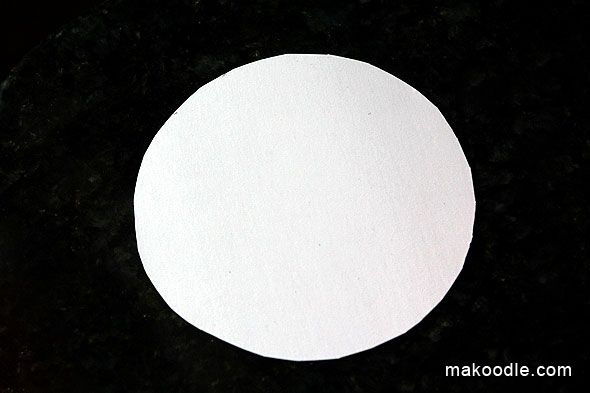
Cut a piece of chipboard that can fit in the bottom of the oatmeal can.
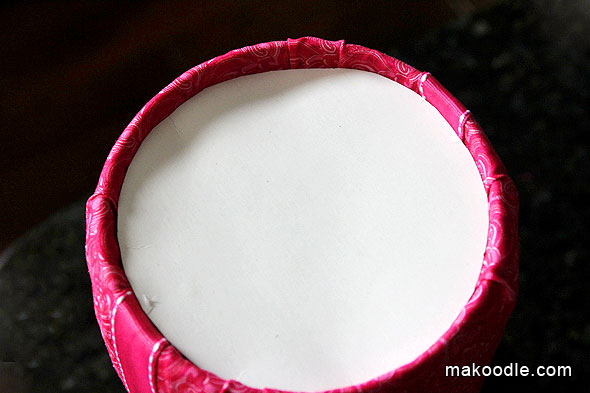
Glue the chipboard into the bottom of the can.
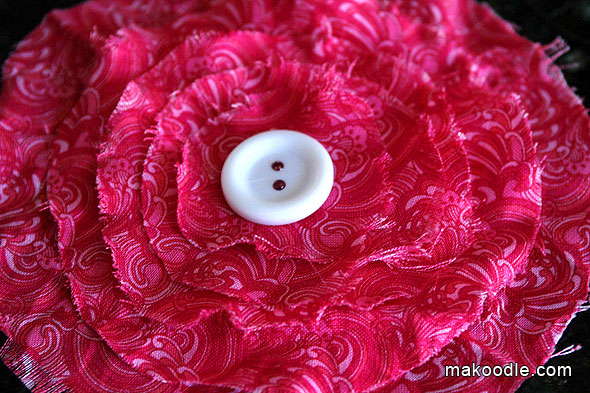
Make a flower out of excess fabric by cutting various sized circles and gluing together.
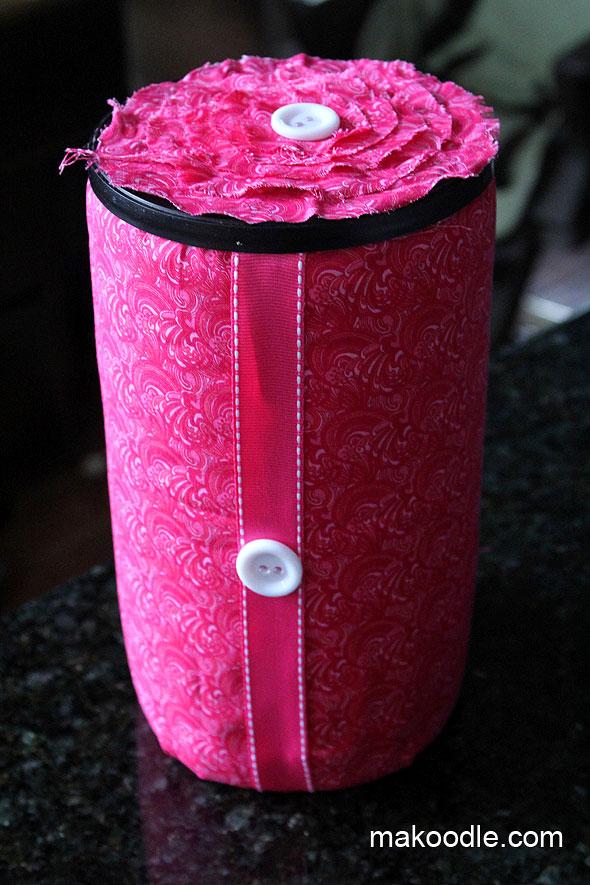
Glue the fabric flower to the top of the lip, then place the lid on top of the can.
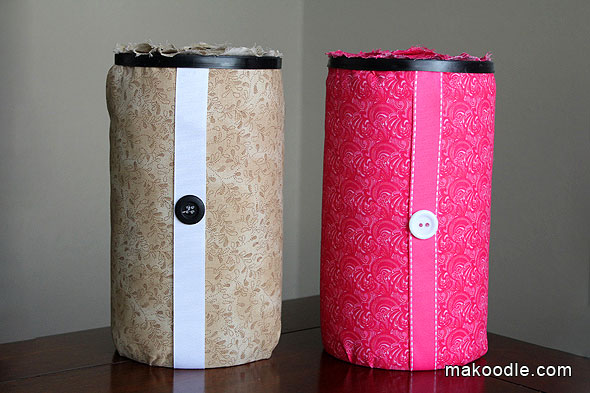
I made two headband holder – one for each daughter. I made one with the oatmeal and one without. The one without oatmeal is multipurpose with the inside being used as storage for elastic headbands.
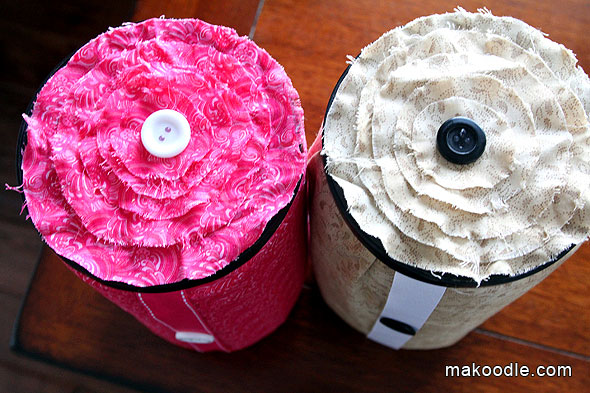
This was an easy project. It took me less than an hour from start to clean-up to make both holders.
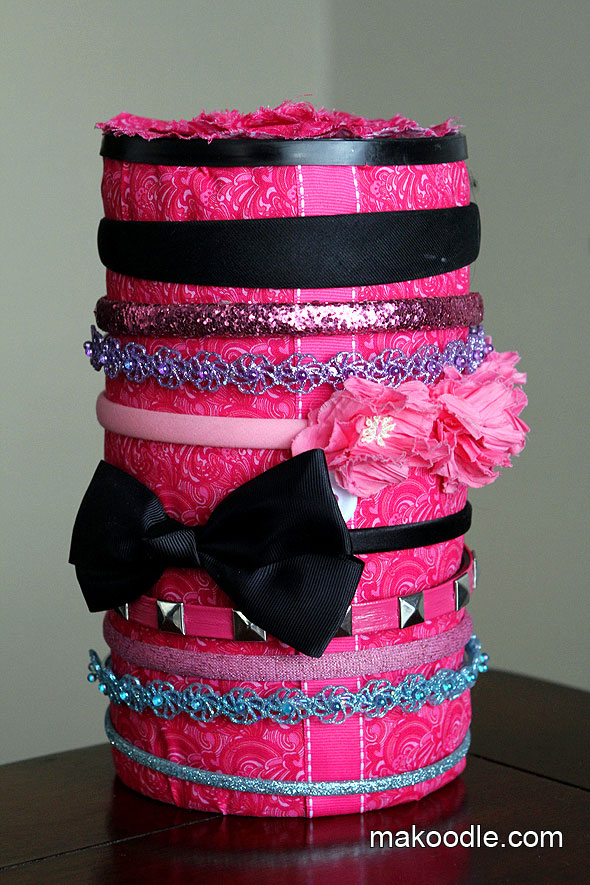
Now all I need to do is solve the Lego organization challenge I have with my son!
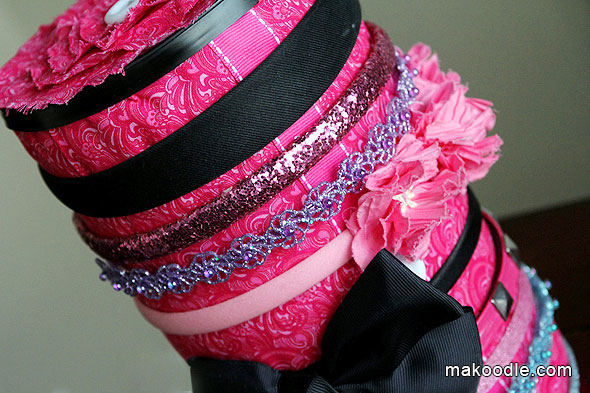
At least the headbands are organized. I can worry about Legos later.
Want more?
If you like this idea, be sure to become a fan of Makoodle on Facebook or subscribe to our feed to stay up-to-date with Makoodle’s latest freebies and projects.
Thanks for stopping by!



Thanks for sharing I just made one for my friends daughters birthday and she loved it!